Sunday, May 10, 2015

Installing Motorcycle Seat Cover / How to Re-cover a Motorcycle Seat

Like many motorcycles 40+ years old, the original seat on this bike was worn out.  The vinyl was hard and brittle, and there was a large tear in the cover. 


The good thing is that there are plenty of reproduction/aftermarket seat covers available online.  One thing I noticed is that the instructions that came with the seat were very general and high level (pretty much worthless).  This was the first time that I have done this, but it turned out pretty good, so I wanted to share how I did it.

  1. Remove the old seat Cover.  There are metal barbs that need to be bent out of the way to free the trim strip which is attached to the vinyl cover. 


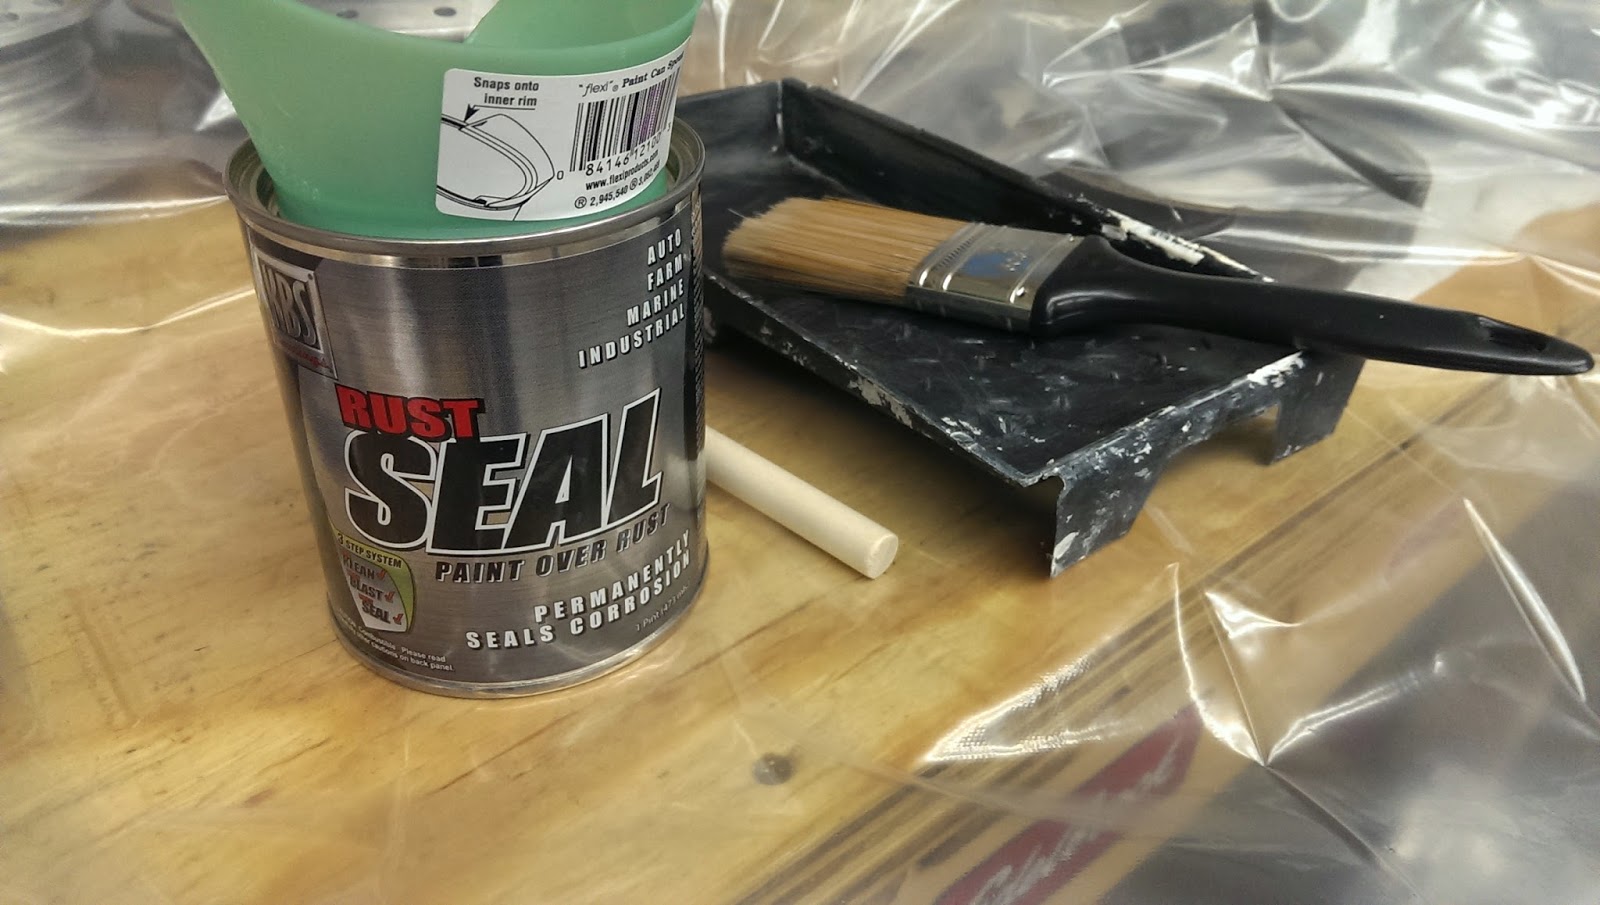
  2. Before putting the new cover on, I cleaned up the seat pan, and painted it with rust seal paint, to restore it back to like new condition.  
  3. Next, is to start fitting the new cover.  The seat cover kit that I bought was not exactly the same as the original.  The chrome trim was not attached as part of the vinyl, and there was a ½” strip of Velcro sewed along the base.  I first stretched the cover over the front and back.  I used heat gun to carefully soften up the material to make it more pliable as I pulled it into place.  The heat gun also worked great to take out all the fold crease marks in the vinyl cover from the packaging. 
  4. This kit also came with a strip of sticky back Velcro.  I cut this into small pieces and stuck them to the seat pan so I could use them to temporarily hold the cover down with the Velcro strip sewed to the vinyl.  I pulled the sides over and stuck them in place with the Velcro until the cover was taught and looked right.  The Velcro trim and strips made this very easy to do. 
  5.  Now that the vinyl cover was positioned, I then began pressing in the chrome edging.
    As the edging is pressed on, I cut slits in the vinyl where the metal barbs need to poke through.
      I worked my way all around the seat pan with the edging with these steps – Press the edging on and cut a slit for the metal barbs.
  6. Once the chrome trim was all the way on, I squeezed all the metal barbs back into place to grip the trim piece to hold everything together.
    In the front portion, where the barbs were much smaller, I drilled a few holes and secured the vinyl cover with some pop rivets as well.
  7. Now that everything was secured, I cut off the extra material and removed the stick on Velcro strips from the seat pan.
  8. The last step then was to cut the holes in the sides so I could put the new handle on the seat.  I am very pleased with how the finished product turned out.


Monday, April 20, 2015

Cleaning and Sealing the Motorcycle Gas Tank

The gas tank on this bike was pretty disgusting.  All the exposed metal inside the tank was rusted and the bottom was caked with some crusty gunk.  My plan for the inside of the tank was to get as much of that crud out of there and then seal it with a permanent liner.


The first thing I did was rinsed it out a few times with hot soapy water.  Then I filled it about half full with more hot soapy water and duped about 30 nuts in the tank, closed the lid and shook it around for about 20 minutes, turning it in different positions periodically. 


This is supposed to help knock loose some of the crusty junk stuck to the tank and wear down some of the large rusted areas.  After doing this, I emptied out the tank, and rinsed everything out of the tank a few more times.

Next, I plugged the bottom of the tank, where the petcock (fuel valve) threads on with a piece of rubber and hose clamp, and poured a gallon of Evapo-Rust into the tank.  I’ve never used Evapo-Rust but Rick Dale from American Restorations uses it, so it must be good.  


I let this sit in the tank for a few days, re-positioning the tank each day so that solution could make contact with every insider surface to dissolve as much rust possible.  

This worked really good to dissolve the rust, but there were still some greasy sticky chunks that did not want to rinse out. 


To take care of that, I sprayed a lot of heavy duty degreaser and high pressure water from the garden hose into the tank. 


I rinsed and repeated a few times until it looked pretty clean inside.


Next step was to dry the tank out from all the rinsing, so I could apply the chemical sealer.  It was a humid summer night so I used a heat gun in attempt to accelerate the drying and enjoyed a beer while I waited.


The sealer I used was from KBS coatings, called Gold Standard. I picked this because I used their brand of rust seal paint when I refurbished the frame, and I was pleased with the results.  To apply it, you simply plug the openings and pour the whole can into the tank.  You have to sit with it for 45 minutes to an hour and slowly roll and turn the tank so an even coat is applied over all the surfaces.  At that time you dump the remaining sealer out of the tank then let it sit with the cap open for a few days while it cures.  


The results were pretty good and the tank is now fresh and clean inside.


Monday, August 18, 2014

Motorcycle Wheels

The wheels on this motorcycle turned out to be a bit of a work.  The picture below shows the condition from when I got the bike.  The rims and spokes all very rusted.  I had a hard time deciding what I wanted to do with these.  Do I pay the high cost to have the chrome re-plated?  Maybe look for used wheels in better condition, or swap them out for something else? Or just blast off the chrome and paint them?


I decided that chrome plating was too expensive, and I did not want to just paint the wheels like most other garage builds, so I started to look for alternatives.  In my searching I found mikesxs where you can find a variety of aluminum vintage style rims for a reasonable price.  These looked to be a good option.  Aluminum polishes to a nice finish and is lighter than the stock chrome plated steel rims.  The Rims I bought were one size wider than the stock rims – So I went from 1.5” to 1.85” in the front and 1.85” to 2.15” in the back.  My plan was to use the stock size tires on these rims, so that the wheels will still fit between the forks and fenders.  Plus, the tire will be stretched wider on the rim which should reduce tire roll when cornering.
The first thing I needed to do was to remove the tires and take apart the wheels so I could clean up the front and rear wheel hubs, and brake parts. 


After cleaning up the wheel hubs and polishing out all the oxidation, I decided to put a clear coat on the hubs knowing that it is hard to get into the crevices to maintain a clean look once the wheels are put together.  With the parts ready to go, it was time to begin lacing the rims with my new sets of chrome plated spokes.  


Lacing the wheels was trickier than I thought it would be.  If you don’t start in the right hole, or if you don’t put them in the exact order, they do not fit right.  Even with looking at pictures of completed rims, this took a while for me to get it right.  Below are the pictures of the process for the front wheel: 


After just completing the front, the back wheel went together much quicker for me.  Now both rims were laced up and I was ready to tighten the spokes and true them up. 


I started by setting up the wheel on my stand, and did my best to evenly hand tighten each spoke all the way around the rim. Next, I put a dial indicator on the side of the rim and measured the runout.  I went around adjusting the spokes with the 6mm wrench until I got this within about .05” of runout. 


Next I checked for hub to rim concentricity by setting the dial indicator on the bottom of the rim.  I went around again many times, tightening and loosening until I reduced the play to about .05”. 

Now that I was close to true, I wanted to make sure I had the spokes torqued to the proper specification.  The manual calls for 1.1 – 1.5 ft-lbs for the wheel spokes.  I did not have a proper spoke torque wrench but I was able to get in the ballpark using a force gauge.  The force gauge measures in lbs, so I can get the torque by multiplying that with the perpendicular distance the force is being applied.  I converted the spec to Inch lbs, and measured the length of my wrench.  Then I used a wire to connect the force gauge to the end of the wrench and did my best to hold it perpendicular as I used it.  I went around the rim making sure none of the spokes were too tight, and then tightened the ones that were too loose.  


Of course now, I had to get the dial indicator set up again and true the rim up further.  Now I could do this, and I had a feel for how tight the spokes should be.  I repeated the runout and concentricity adjustments again until I had them within the tolerance specified in the manual (0.0197”).  

After the long painful process of truing the rims, I was now ready to mount the tires.  I set the tires in the sun for about 30 minutes to get them soft and pliable.  I accidently punctured one of the new inner tubes when mounting the front tire, so I had to take it off, make a trip to the power sports store, pick up a new tube, and try again – more carefully.  Eventually I got the tires on.  I had a little bit of trouble getting the beads to pop up all the way around, so I sprayed them with Windex to lubricate the tire beads, inflated them until they seated, then let out some air so they were down to the correct pressure.  Now the wheels were done and ready to go. 

Saturday, July 12, 2014

Motorcycle Frame Refurbishing

Now that the engine was rebuilt, I started working on the frame.  I took off the few remaining parts, forks, tree, stem, and swing arm.  This view shows the frame looking at the bottom.  There was tons of dirt and grease all over 


To save time in cleaning off all the oil, dirt, and grease, I took the frame over to my buddy’s shop and borrowed his pressure washer.  I coated the thing with a whole can of degreaser, and then sprayed the thing down really good.  Even with that there were some really stubborn bits that required scraping with a scotch brite pad then repeating the pressure washing. Overall, this was a pretty easy way to clean up the frame.  


I brought the frame back to my workshop, cleaned up some of the smaller chassis parts, then set up all the parts for painting. 


I used the KBS Coatings rust seal product as the base coat.  This stuff is supposed to encapsulate any remaining rust and do a real good job of sealing off the metal to keep out corrosion.  It can be sprayed on or brushed on.  A little goes a long way and it flows out so no brush strokes are visible.  

The results with just the rust seal coat look really good.  The only problem is that the rust seal paint is not resistant to ultra violet light, so it will start to fade if exposed to prolonged sunlight.  If you don’t want it to fade, it needs to be top coated.  


I let the rust seal coat dry for about 6 hours so it was dry to touch but just slightly tacky.  Then I sprayed DupliColor gloss black enamel doing 2 light coats and finishing with a medium/heavier coat. 

Here is how the finished parts turned out. 


Ideally, I could have got all these parts fully sand blasted and powder coated, but using the kbs coatings rust seal method with enamel top coat is a pretty durable alternative to powder coating and it cost significantly less money being able to do it yourself.